IntroductionI have been a Happy Geek in Cyber Space!
I am a ColdFusion consultant and have always used ColdFusion since 4.5
I have been having fun with CF and the open source variants, recently had a project that used
Railo & I have
OpenBlueDragon runnning on my
Pogoplug.
OpenBlueDragon had a debugger that runs right out of the box, pretty amazing! Due to compatibility issues I have not been able to run the current project on OBD. :(
I was tasked with getting the debugger running on my current assignment!
We are running Windows 7, Apache 2.2 & ColdFusion 8 with
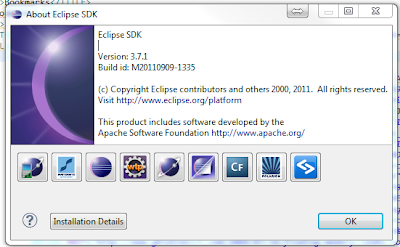
Eclipse 3.7.1
First, I need to acknowledge the sources of my success:
1)
Charlie Arehart 2)
Ben FortaBen Forta's site was a big help in the early days, Charlie Arehart does regular CFMeetups that are a big help!
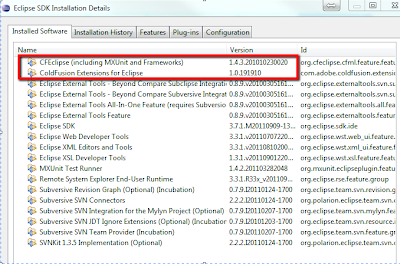
Lets Get Started!Using eclipse Version: 3.7.1 with CFEclipse & ColdFusion Extensions
Before we begin, turn off the windows firewall, or make an exception for port 5005
To be safe make a copy of C:\JRun4\bin\ jvm.config (your location may vary)
You need to add the following line to C:\JRun4\bin\ jvm.config :
-Xdebug -Xrunjdwp:transport=dt_socket,server=y,suspend=n,address=5005
So This line should read:
# Arguments to VM
java.args=-server -Xmx512m -Dsun.io.useCanonCaches=false -XX:MaxPermSize=192m -XX:+UseParallelGC -Dcoldfusion.rootDir={application.home}/ -Xdebug -Xrunjdwp:transport=dt_socket,server=y,suspend=n,address=5005
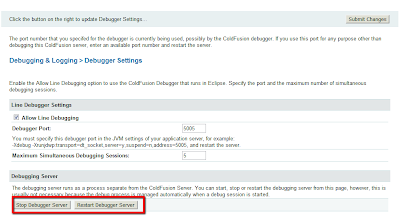
Open the ColdFusion Administrator.
Select "Debugger Settings" in the "Debugging & Logging" section.
Check "Allow Line Debugging".
Under Server Settings > Settings set Timeout Requests after ( seconds) to 300
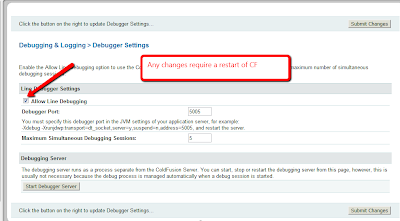
You will have to restart the CF server
Click Start on the CF Admin Debugger, you will then see the Stop & Restart buttons
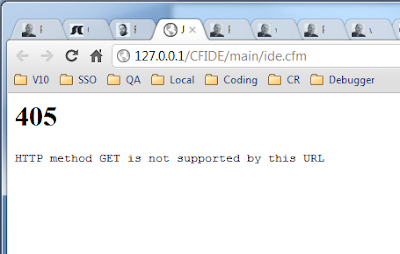
At this point you should get this response from the browser http://127.0.0.1/CFIDE/main/ide.cfm
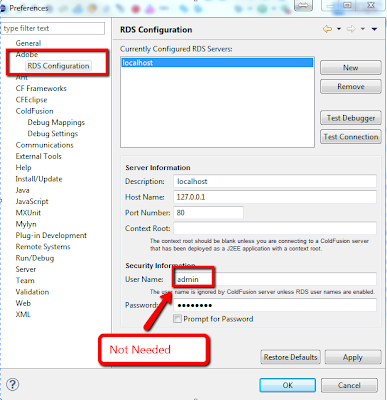
The first thing you need to do in Eclipse is define the RDS settings for your ColdFusion server. These settings are used by the debugger, as well as the wizards, RDS panels, and more. To define your RDS connection do the following:
• In Eclipse, select Window->Preferences to display the Preferences dialog.
• Select Adobe in the tree, expand the selection, and select RDS Configuration.
• Click New to add a new server, or just select any server to edit it.
• Provide a description, host name, port, and login details, and then save. To use your local ColdFusion server specify 127.0.0.1 as the Host Name, 8500 as the Port (if using the integrated HTTP server), leave the Context Root blank, and provide the login information.
Use the host & port you connect to the Administrator with! (Thanks Charlie!)
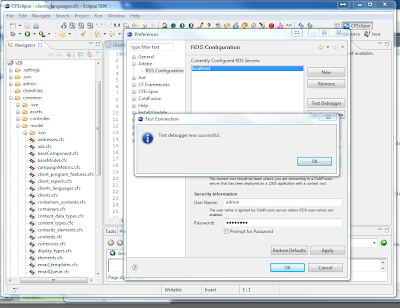
Click "Test Connection" to make sure the RDS connection is working, and the click OK.
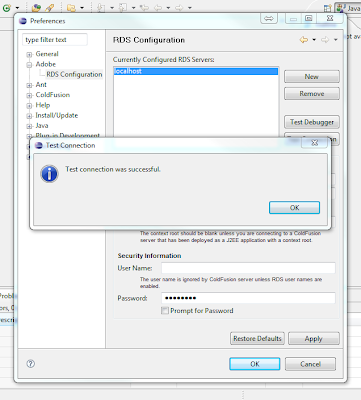
Click Test Debugger
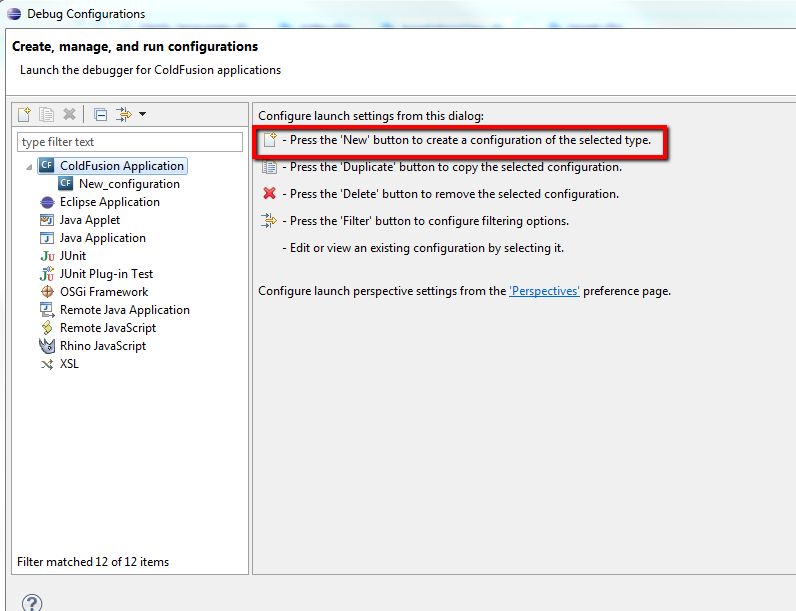
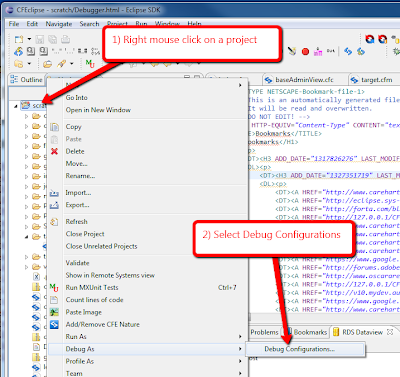
Configure a debugger by right mouse clicking on a project.
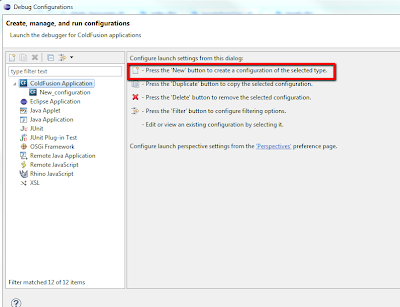
Create a new configuration by selecting "ColdFusion Application" and clicking the icon with the plus sign.
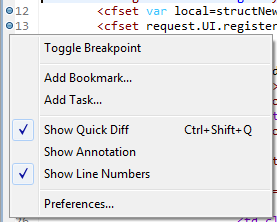
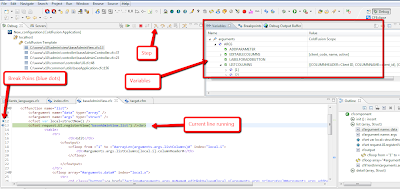
Set a break point in a project by right mouse clicking to the left of the line numbers
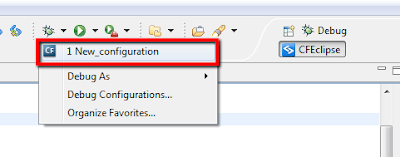
To Start debugging, click the down arrow by the bug and open the ColdFusion configuration you created.
Open your browser to the template that you set break points in. You will see the browser loading, the eclipse perspective will change to the debugger and will hold at the break point.
ENJOY!
Charlie Arehart commented below & this is a must read! Chapter 52 is a great guide! CFWACK8